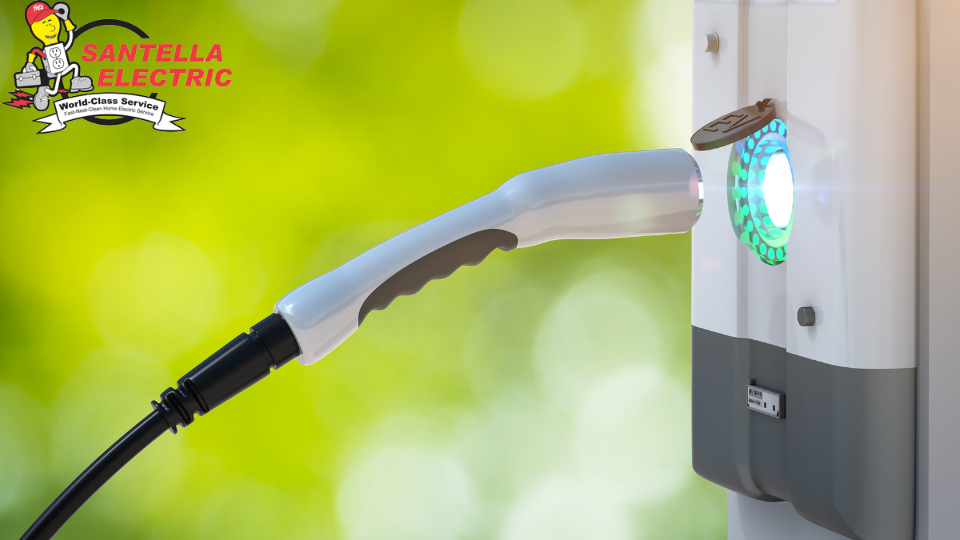
So, you have made the switch from gas to electric vehicles. Good job! That choice is going to save you and the planet in the long run. Like any electronic device however, there can be IT problems to solve. Anyone who has ever broken their phone charger will tell you it’s the most frustrating problem to have, and for a vehicle charging station, the frustration is 10 fold.
Is Your EV Charging Station Not Working Properly?
Before we delve into brand and model specific fixes, lets go over a checklist of standard issues that may be causing the charging station to malfunction:
The Cable is not fully connected at both ends
Be sure to double check that the cable is plugged all the way in. Try Unplugging both ends of the cable before re-inserting them firmly to ensure a full connection is made. New sockets can be stiff, so be sure you actually fill the connection.
Delay timer in the car
Charging may not occur if a schedule has been set in the electric car. Check that you have not set a delayed charging time in the car.
Smart charging has been activated
You may have activated smart charging in the app and so charging is not scheduled till later. Tab the “Boost” in the app to start charging straight away (it can take a minute for the charge point to respond) or untick smart charging from the settings page and tap save.
Reasons Your Tesla Charging Station May Not Be Working
Tesla charging stations include an LED light on the wall mounted charging connector. If your charging station is not working, the color and pattern of the light blinks will indicate what is wrong. All red blink codes pause for one second, and then repeat. You can contact Tesla directly for support here.

No Lights
Verify that the power supply is turned on. If the issue persists, have an electrician remove the Wall Connector from the wire box and confirm that voltage is present at the terminal block using a multimeter.
Solid Red
Turn the circuit breaker off, wait 5 seconds, and turn it back on. If a solid red light remains, document the part number and serial number, then contact Tesla.
One Red Blink
Inspect the handle, cable, Wall Connector and vehicle charge port for damage or signs of water ingress. Have an electrician check that earth ground is not directly connected to a conductor wire in the branch circuit.
Two Red Blinks
Verify that the Wall Connector is properly grounded. The Ground connection must be bonded in the upstream power supply for proper operation. Check all physical connections, including the wire box terminals, electrical panel(s), and junction boxes. In residential power supplies, check the bond between Ground and neutral at the main panel. If connected to a step- down transformer, contact the transformer’s manufacturer for direction on how to bond the ground connection.
Three Red Blinks
Connect Wall Connector to Wi-Fi so that firmware can update to the most recent version. Check the faceplate and cable handle for excessive warmth. Have an electrician remove the Wall Connector from the wirebox and verify that the conductors used are sized correctly and that the terminal block is torqued to specification.
Three red blinks, with green streaming
Charging amperage has been reduced due to high temperatures. Connect Wall Connector to Wi-Fi so that firmware can update to the most recent version.
Four Red Blinks
Check for objects that could interfere with the area’s Wi-Fi signal strength. Confirm that the local Wi-Fi router is operational. If the Wi-Fi password was changed recently, follow the commissioning process on your mobile device to update the Wi-Fi settings.
Five Red Blinks
Check for objects that could interfere with the area’s Wi-Fi signal strength. Follow the commissioning process on your mobile device to re-link the Wall Connectors for power-sharing.
Six Red Blinks
Verify that the power supply is nominal 200-240 volts. If the issue persists, have an electrician remove the Wall Connector from the wire box and confirm that voltage readings are as expected at the terminal block using a multimeter.
Seven Red Blinks
Reduce the vehicle’s charge current setting. If the issue persists and the attached vehicle is manufactured by Tesla, record the vehicle’s VIN and approximate time of the fault and contact Tesla. If the vehicle is not manufactured by Tesla, contact the vehicle’s manufacturer.
Reasons Your JuiceBox Charging Station May Not Be Working
Juicebox Charging stations, come equipped with audio error codes, meaning, that should an error occur while charging, audible tones will be heard. Buzzer tones indicate what type of error is occurring. You can contact JuiceBox directly for support here.
1 Continuous tone, no breaks
Check line and neutral connections as they may be reversed in the adapter or outlet. Unplug and reboot JuiceBox. If the issue persists, please contact Support.
1 repeating beep, short break
Unplug JuiceBox for 30 mins to 1 hour. While the unit is unplugged, please also power the circuit breaker off and on. If the issue persists, please contact Support.
2 short beeps, then a break
Unplug and reboot JuiceBox. If the issue persists, contact Support.
3 short beeps, then a break
Unplug from the car in order to reset the GFI trip count to 0. If the issue persists, contact Support.
4 short beeps, then a break
Move your JuiceBox to a cooler area, out of direct sunlight, or remove heating sources from the area. The JuiceBox will automatically resume when it cools off.
5 short beeps, then a break
Check your ground wire in both the panel, and at the device termination (hard-wired or outlet plugged into) to make sure all connections are tight. If error persists after unplugging and rebooting the JuiceBox, and your car will not charge, please contact support.
Reasons Your WallBox Charging Station May Not Be Working
The Wallbox Charging Station, has a line of LED lights on the wall mounted Wallbox, whose colors will indicate the kind of error you are experiencing. However, a number of issues do not cause a color change. If the lights are off, the box is not receiving power, and if they are blue, it is charging up for a scheduled charge, please see the common error fixes at the beginning of the article. You can contact WawllBox directly for support here.

Red Light
Disconnect the EV connector from the vehicle. Turn off the circuit breaker and wait a few seconds before turning it back on. If the issue remains, contact Wallbox Service.
Wrong installation of the current selector
Consult with your installer to make sure that the current selector is not at position 0, 8 or 9.
The vehicle only charges at a low power
When the vehicle’s charging session is almost complete, the charging speed begins to fall.
The charging current has been reduced by the user.
Increase the charging current. If the maximum available current is too low, contact your electrician to recheck the installation of the charger (see Installation Manual).
The ambient temperature is out of the operating range.
If the charger or the vehicle detects a temperature that is too high, the charging power is reduced for safety reasons.
Contact Santella Electric to Repair Your Faulty Home EV Charging Station
Many of the above errors require electrical service both to diagnose the problem, as well as to solve the problems. Santella Electric is an electrical service and repair company servicing Fairfield County, CT. If you own an electric vehicle in Fairfield or Westchester County, be sure to call Santella Electric to help repair your charging stations. We are available around the clock for emergency repairs and services. Call at any time and speak with a member of our team. And don’t worry, When we at Santella Electric perform electrical upgrades or repairs to your home, the work will be done completely safely & securely. Our electrical technicians are highly skilled and go above and beyond to ensure the highest level of service for every customer.
Contact us below and get in touch today!
Recent Comments